

How To Make A Carnival Tent
Supplies Needed
- A4 or Letter size cardstock
- Crayons or colored pencils
- Scissors
- Glue
- Pipe cleaner
STEPS
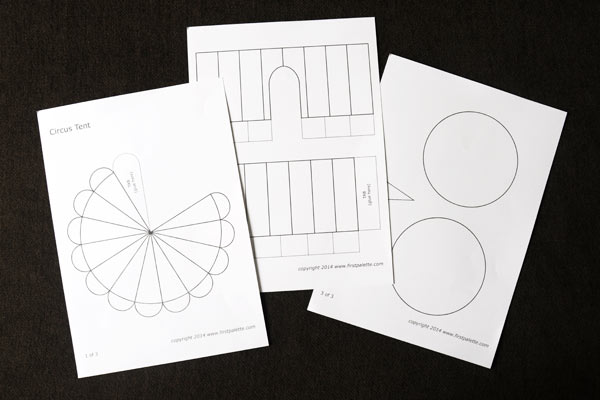
1Print out the template.
Print out any of these circus tent templates on A4 or Letter size cardstock. Choose the black & white template if you want to color your own circus tent.
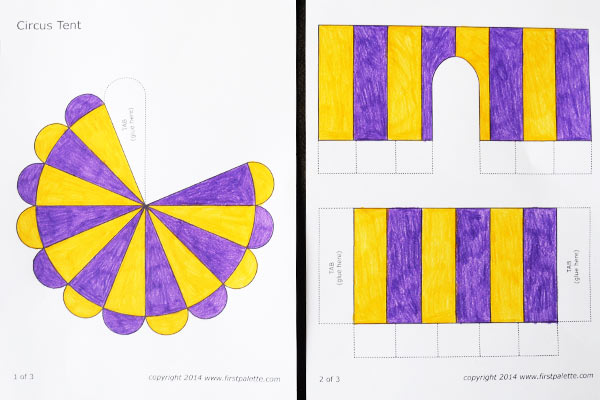
2Color the template.
Circus tents commonly come in red and white or red and yellow striped patterns but you can always go with your own color combinations. Color the pieces on the first two pages. Leave out the tabs (the sections bordered by dashed lines) on all three template pieces.
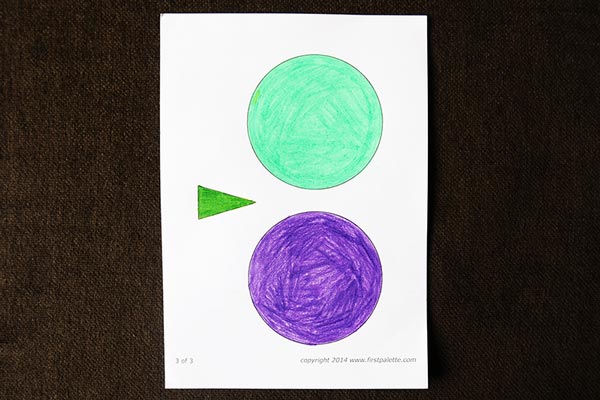
The third page consists of one small triangle and two big circles. These are your tent's flag and floor, respectively. Color them with your preferred colors.
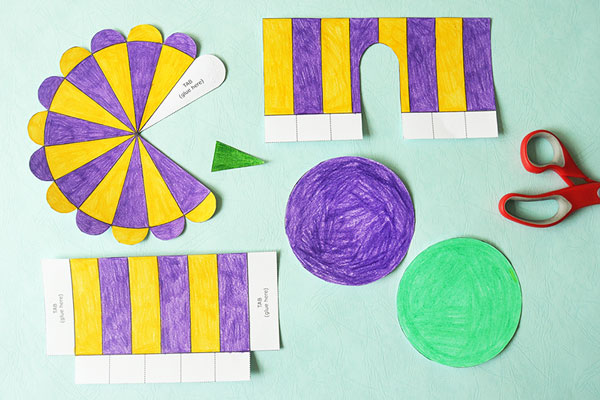
3Cut out the template.
Cut out all six template pieces.

4Apply glue on the top's tab.
Take the pizza-shaped template—this is the circus tent's top or roof. Apply glue on the tab area.
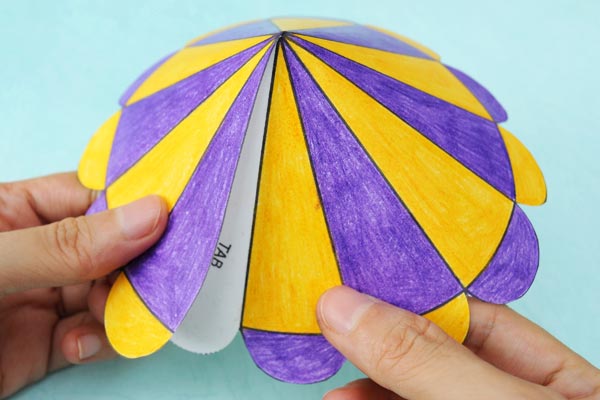
5Form the top into a cone.
Transform the circus tent top template into a cone by gluing the tab behind the opposite wedge.
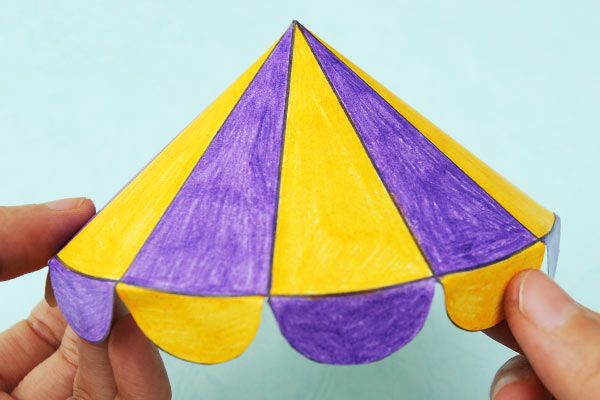
6Fold down the flaps.
Fold down the flaps along the bottom edge of the tent's top.
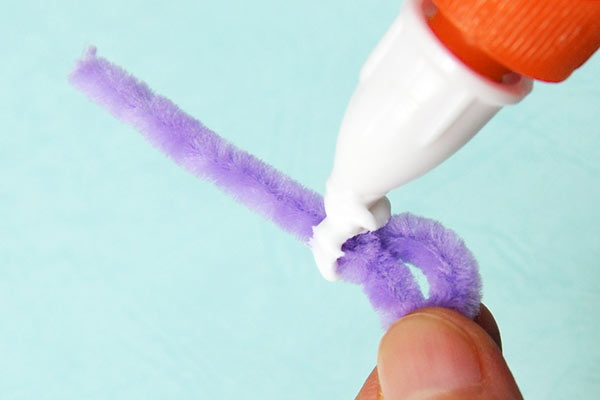
7Make the flag's stem.
Cut a 3-inch long piece of pipe cleaner and make a small loop on one end. Apply white glue just above the loop.
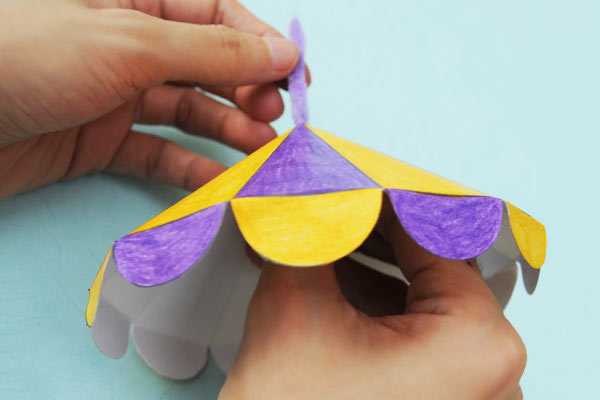
8Position the pipe cleaner.
Punch a small hole at the tip of the cone-shaped top. Insert the pipe cleaner through the hole from the inside of the cone. Pull it all the way through until the loop touches the paper. The glue above the loop should fix the pipe cleaner in place.

9Glue the flag.
Glue the small triangle at the tip of the pipe cleaner to create a flag for your circus tent.
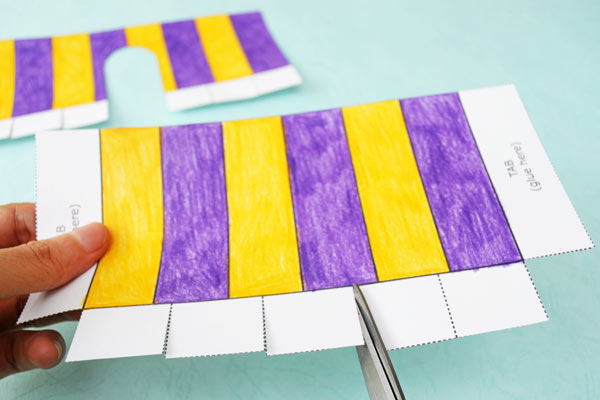
10Cut fringes on the tent walls.
The two long template pieces are the tent walls. Cut along the dashed lines at the bottom of each wall template to create fringes.
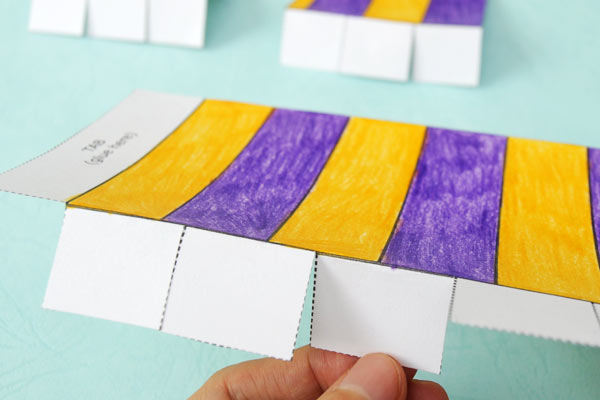
11Fold the fringes.
Fold each fringe towards the back to create a crease at the top of the fringe. Unfold.
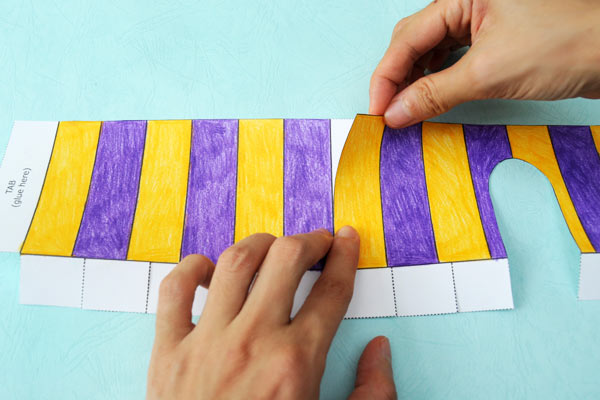
12Glue the walls together.
Glue the two wall templates together along one side tab.
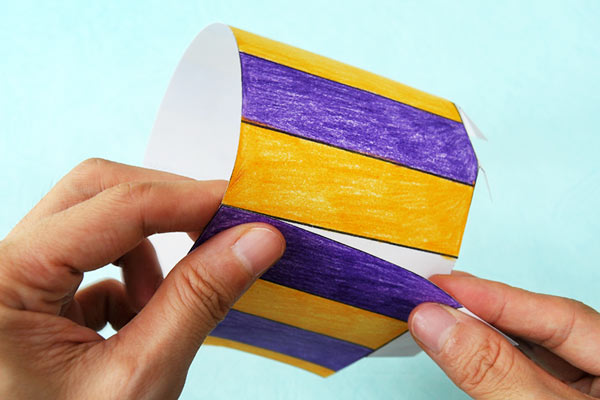
13Form the walls into a cylinder.
Glue the wall's other side tab behind the opposite end of the template to form a cylindrical-shaped tent body.
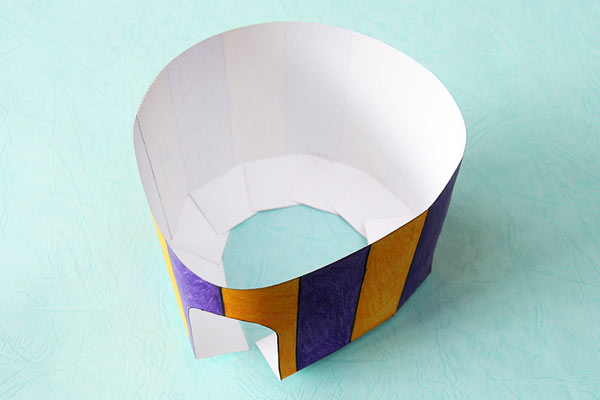
14Tuck the fringes in.
Place the tent body on a flat surface, with the fringes folded on the inside. You will notice that it's not a perfect cylindrical shape. To make it rounder, we need to a add a round base at the bottom.
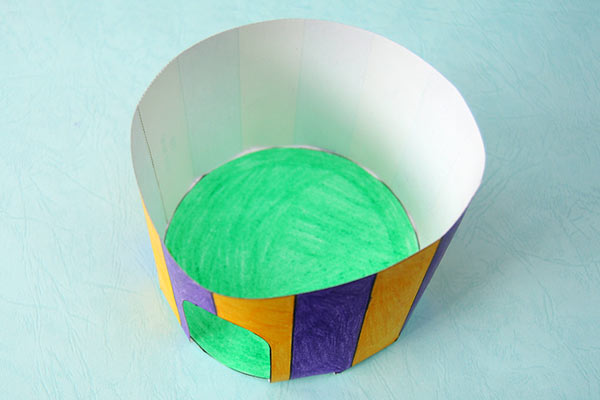
15Glue a circle inside the tent.
Apply glue at the back of one of the circle templates. Place the circle inside the tent body. Press around the outside of the walls close to the base to cause the corners of the fringes to wrap around the circle. Press down on the entire circle to glue the fringes firmly in place.
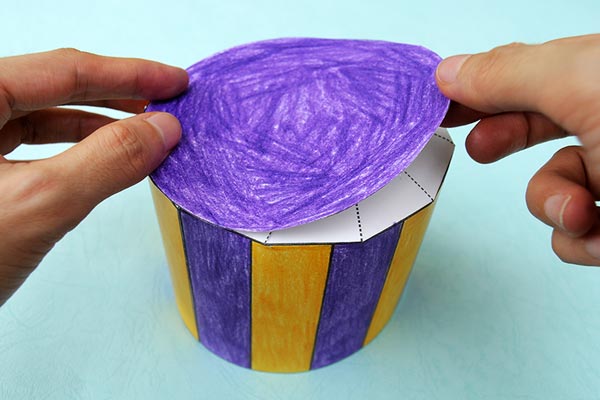
16Glue the other circle.
Position the tent body with the bottom side up. Glue the second circle on top of the fringes. This circle makes the base sturdier and also conceals the fringes.
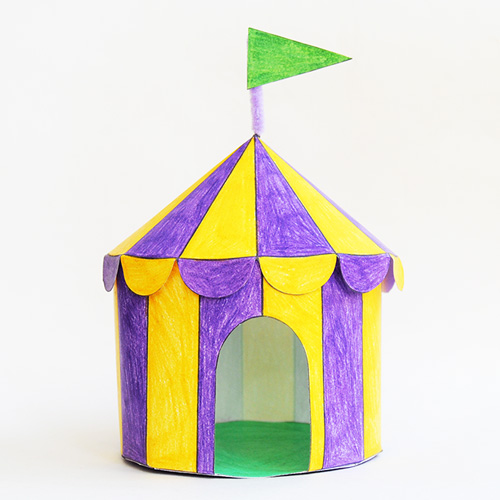
17Assemble the circus tent.
Finish up by putting the circus top and tent body together. You can glue the top permanently or use it as a removable lid.
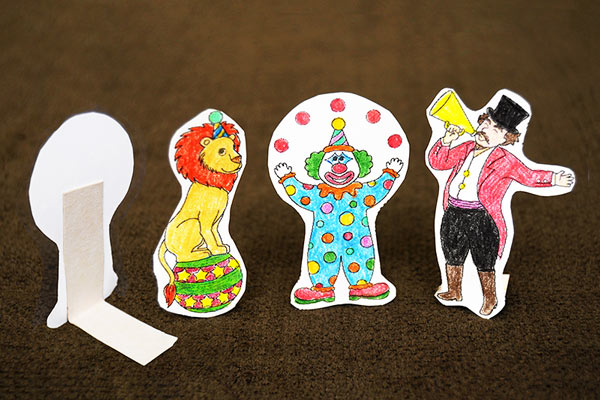
18Make some circus characters.
Create a super fun circus with some clowns and circus characters. Draw your own or print out these miniature circus characters. Color and cut out each character.
To make them stand, cut out L-shaped tabs out of cardboard or cardstock. Glue one at the back of each character to make it stand. Refer to the leftmost character on the photo.
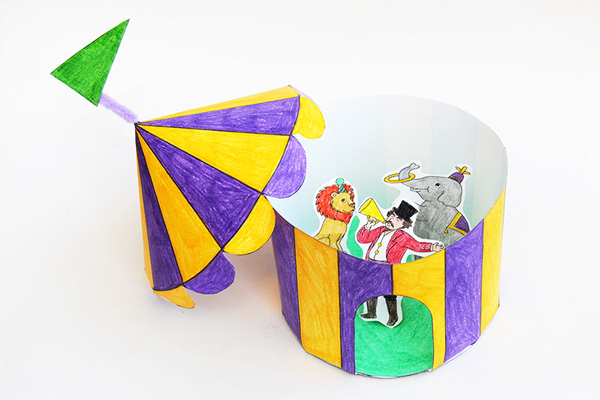
19Place the characters in the tent.
Position your circus characters inside the tent. If you want to fix them in place, glue or tape their L-shaped bottom tabs onto the tent floor.
More Ideas
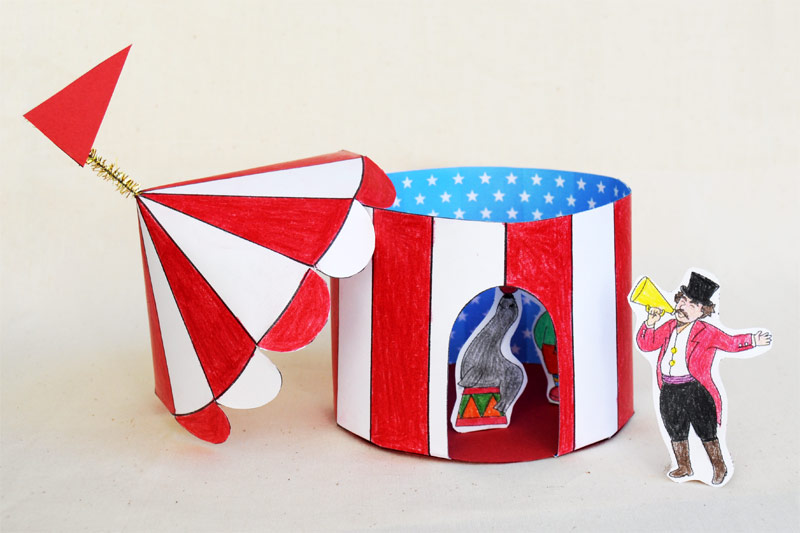
Make patterned inside walls.
To have colored or patterned inside walls, print the template's second page onto colored cardstock or onto the plain side of a patterned cardstock.
You Might Also Like
Comments
How To Make A Carnival Tent
Posted by: haugcrichown.blogspot.com
Source: https://www.firstpalette.com/craft/paper-circus-tent.html
0 Response to "How To Make A Carnival Tent"
Post a Comment